Friday, July 31, 2015

Standing Stones


Standing Stones
D&D Scale

I was looking at pictures of real life standing stones like Stonehenge and I'm fairly certain I was watching something odd on Netflix when this popped into my head. I've never built them before, but I really loved this build - I can add detail and a wee bit of gore, while still maintaining that D&D feel.


Started out with a pink foam base and randomly cut some large stone-like bits to make up the circle of stones. I didn't measure or anything - I just started chopping and gluing. 


Well, the outer stones weren't enough - I wanted to add a ritual space, and thus the stone ritual altar was born. My husband thinks Aslan belongs on it.


Added some stones and painted the foam to match each other, with a sepia wash.

Even added some kitty litter as small scatter here and painted it to match the rest.


I knew I wanted the center to be dirt and the outer to be more grassy, so I painted the base as such.


Finished, I've added the scatter, some rope around the stones, etc.


The stone altar has two pieces of material (baby wipes) draped over it as an accent - blood drops as well.


Side view


Some trees add a nice accent as well.


I bought the tree bits from Goodwill in the used floral section - I bought a big bunch of stuff for $3 and have already started making use of it.


Top down of the whole scene.


Ruins for D&D Mark II


 Ruins Mark 2
D&D Scale

Something that's always in need, either in D&D encounters or for Warhammer games is ruins. Several years ago I built my first ruins and this week I was working on an updated version.

The basis for these ruins is pink foam, bought from Home Depot. I'm pretty random with my sizing. I go willy nilly with my Xacto blade to get a good chunk, and then use the same blade to cut notches in what will become a rock face.


Cutting pink foam is like fingers to chalkboard for me, so I have a difficult time with it, sometimes. 

Then I cut 1 inch by 1/2 inch blocks that would become the stones the ruins were build from.


White glue to stack them. I did this while the husband was away. He kept stealing my bricks and building things with them. Maybe one day I'll get him to build some ruins. For now, he prefers to just play with what I make - haha


Next was painting the brick and rock. I was unsatisfied with the normal black, dark grey, lighter gray and white situation that one normally does for rock. So after I did that, I took some Sepia ink and added a bunch of water and then washed it over the rock. I feel it makes it a lot more natural, colour-wise.


Then I added skulls, a tree - another tree and some odd rock bits and painted the base green before adding my flock


Front view of ruins


Side view


Up close


Back view

Back rock face.


T

Guillotine - D&D Scale


 Guillotine 
D&D Scale

After making the hangman's hills, I was on a mission of gore. From gallows to guillotine - next up will be some torture chamber items - but they haven't made it from my brain to my paper yet.

So I made two actual guillotine pieces - one is a stand alone little piece and the one I'm showing you, which is a full hilltop scene with the stairs leading up to the guillotine itself.


I began with stir sticks and various scraps of basswood I had. I'd drawn a bit of a sketch with the basic idea and just sort of winged it from there.


Beneath the stand


The two guillotines I made - the sides are made from basswood, the places you would put a persons head had to be made from balsa because it was the only thing soft enough to carve a hole into. The blade is cereal box card folded in half.


Stairs made from stir sticks. I was pretty impatient with this project and used hot glue in most instances, even though I probably should have used PVA - I wanted instant gratification, though.


Base the area in black...


Painted a wood effect with 3+ layers of brown and then edged in tan. I then glued it down to a piece of pink foam I've carved a rock face into.


Sadly it started raining as I was taking pictures, so this is the brightest I could get the guillotine itself.


Coffee and tea mix used for dirt - mix of various substrates for the grass from Woodland Scenics.

Side view


Face on view of guillotine, some blood dripping.

Wooden stairs leading up the mountain to guillotine

Ladder/Stairs up to guillotine


Rope hanging down


Fin.


Sunday, July 26, 2015

Goblin Hut

Goblin Hut
D&D Scale

Made from toothpicks and based on pink insulation foam is a small goblin hut.


No doors or roof - perhaps it has been abandoned in the forest and they have moved to a new camp.

I put the static grass in a swirly design in and around the house to give it a more magical feel.

Saturday, July 25, 2015

D&D Jailhouse

Jail
D&D Scale

This piece is somewhat unfinished and I have a feeling it will always remain as such. It's usable as is, it's just not my best work. It does not have a roof, but does feature an entry room, 3 small scale cells and 2 large cells.


Outside is Tudor style with sand and paint stucco.


There is a desk made from balsa wood, tapestries and rug made from cereal box card.


Cell doors are open-able. The two different sizes are for two different sizes of "bad guys", based on D&D miniatures.

Cell bars are made from small stir-stick type straws that I bought at Sams Club in the bulk kitchen items isle.

Tutorial - Leaves

 TUTORIAL
Leaves for Dollhouse/Terrain Scale


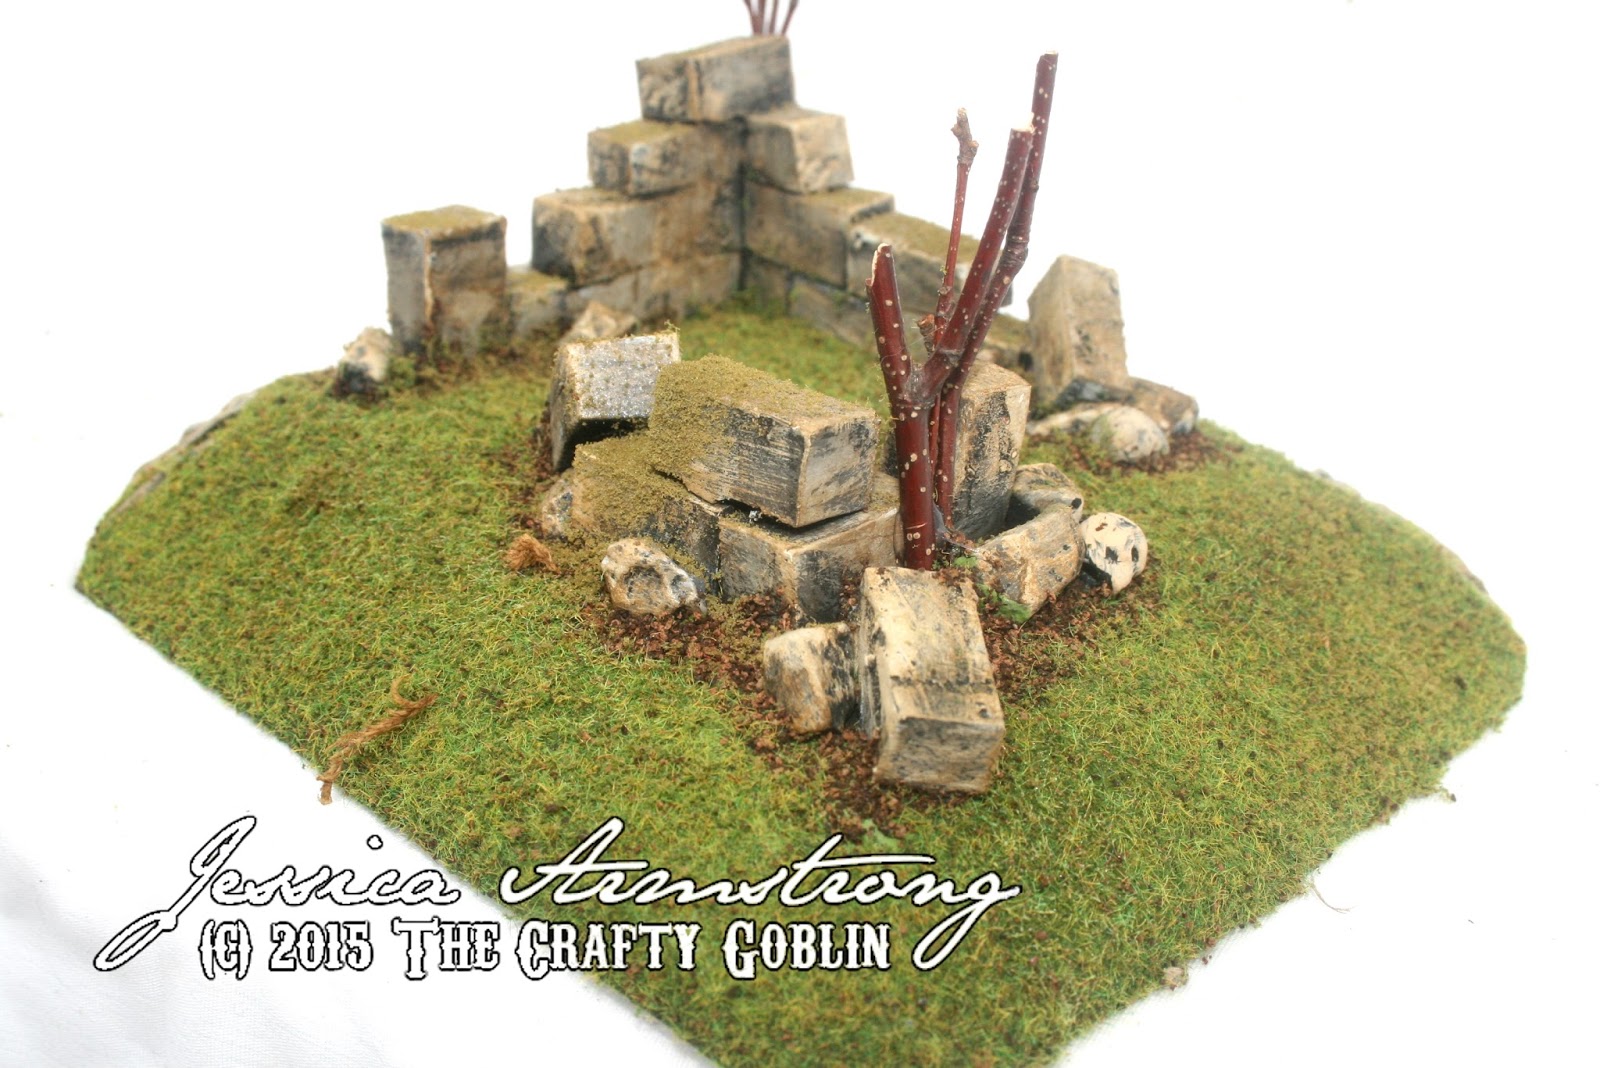
When it comes to scale, I let a lot of things go pretty easily. If it's not perfect scale, it's not going to bug me...too much. So with these leaves, I fully plan on using them for both terrain scale (Warhammer and D&D) and Dollhouse 1:12 scale. For the most part, people don't pay very close attention to leaves and general scatter. I probably wouldn't base an entire piece of terrain with these leaves, but scattering a few here and there has the possibility of adding a nice accessory to your pieces.

WHAT YOU NEED

Acrylic paint
Paper
Ruler
Leaf shaped punch
Stippling paint brush


This is the punch that I bought yesterday - I bought it in the stamp aisle at Michaels. There were two different sizes and I purchased the smaller of the two. It's 1/8ths of an inch and was (I believe) $6 without a coupon (40% off coupons are easy to come by on their website). This is Recollections brand (The Michaels store brand)

If you look at the bottom, you can see what the punch bit itself looks like, along with a plastic piece that covers it, allowing a couple stamped bits before it gets clogged. I removed this plastic piece while I was working on it - I found the punch itself clogged a lot less if I had it removed.

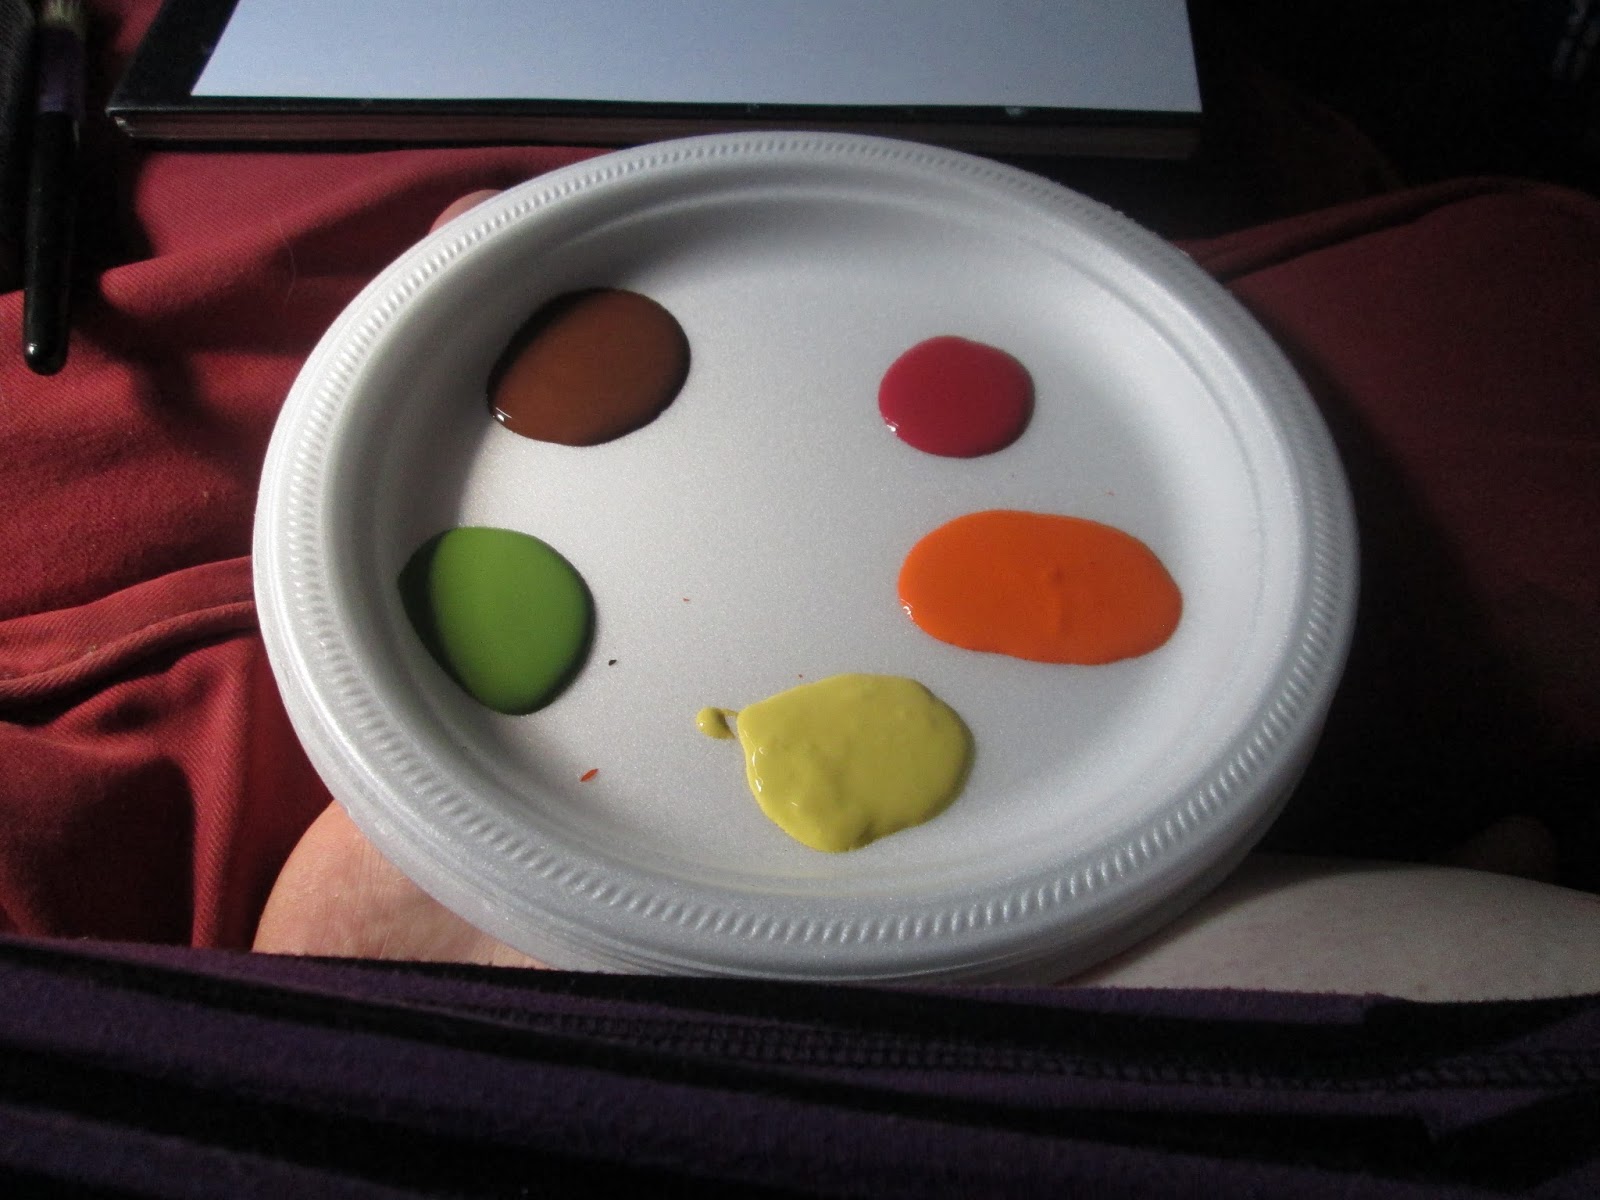
For Fall leaves, I used all of the above colours (green, brown, orange, red and yellow) For summer leaves you can use just green and brown - if you're trying for a specific type - do your research. For example, yellow and brown, yellow and red, red and orange - these are all popular colour combinations here in Ontario in the fall. Here's a couple examples:


You've got yellow with brown on the left and red with yellow/orange on the right. Adjust your paint colours for the scene you want to accomplish.

I created a palette on a disposable plate of the colours I planned on using.

I took a picture of my blank piece of paper. I'm not entirely sure why - it doesn't really show you an example of anything you need to do in this tutorial. However, I took it, and so it's goin' in.


 Maybe instead of taking a picture of a blank piece of paper, I should have taken pictures between each colour. Oh well. Here you've got a base of green - just cover the whole paper, both sides, in green. I used Leaf Green from Dollarama. Then, using my stippling brush, I used brown, and then orange, and then a wee bit of red. I used less of each colour consecutively.

Above you'll see my summer/early fall leaves of green and brown. After covering both sides of the paper with your chosen colour, let the paper dry. It won't take that long - just go grab yourself a drink or something, come back and you'll be ready for the next step.


Use your ruler (I always prefer my metal one) to tear the sheet of paper into strips. With each strip you can use the punch along two sides, maximizing the paper usage. 


Here's some of my green and brown accumulated. 

Here's a human Rogue and leaves for perspective - they're still pretty large for D&D scale, but if you're not basing everything in JUST these, it'll look pretty good.

Here's just one Fall leaf for colour reference.

Assuming you've got things on hand like paint, paper and a ruler - the total cost of this is $6, one time - and a punch you can use for many future projects.