Showing posts with label Tutorials. Show all posts

Friday, March 10, 2017

Red Dragon Dice Tower


Goodmorrow fellow crafters, Jess here this week showing you how to make a dragonscale effect on the new GSLC Dice Tower.


While putting the tower together, I painted the inside black - it's too fiddly to paint the inside once everything is assembled and glued.


Then basecoat the whole tower black.


I made french toast for dinner for the family so that I would have enough egg shells for the next part. To work with the egg shells, you have to remove the immediate inner part from the shell and the more difficult to see inner skin of the shell. If you don't, the shell doesn't stick to the glue and vice versa - it only sticks to the skin.


Work in small portions, laying down your glue and pushing the eggshell into it and crunching it down.


This is the whole tower covered in eggshell - I think it looks pretty cool.


Painting is ultimately up to your own creativity and imagination. I chose red because it's one of my favourite colours. Then I made a wash out of a little black paint and water to go in between the cracks to bring out scales. To finish I also added a copper metallic paint and some green in certain places.


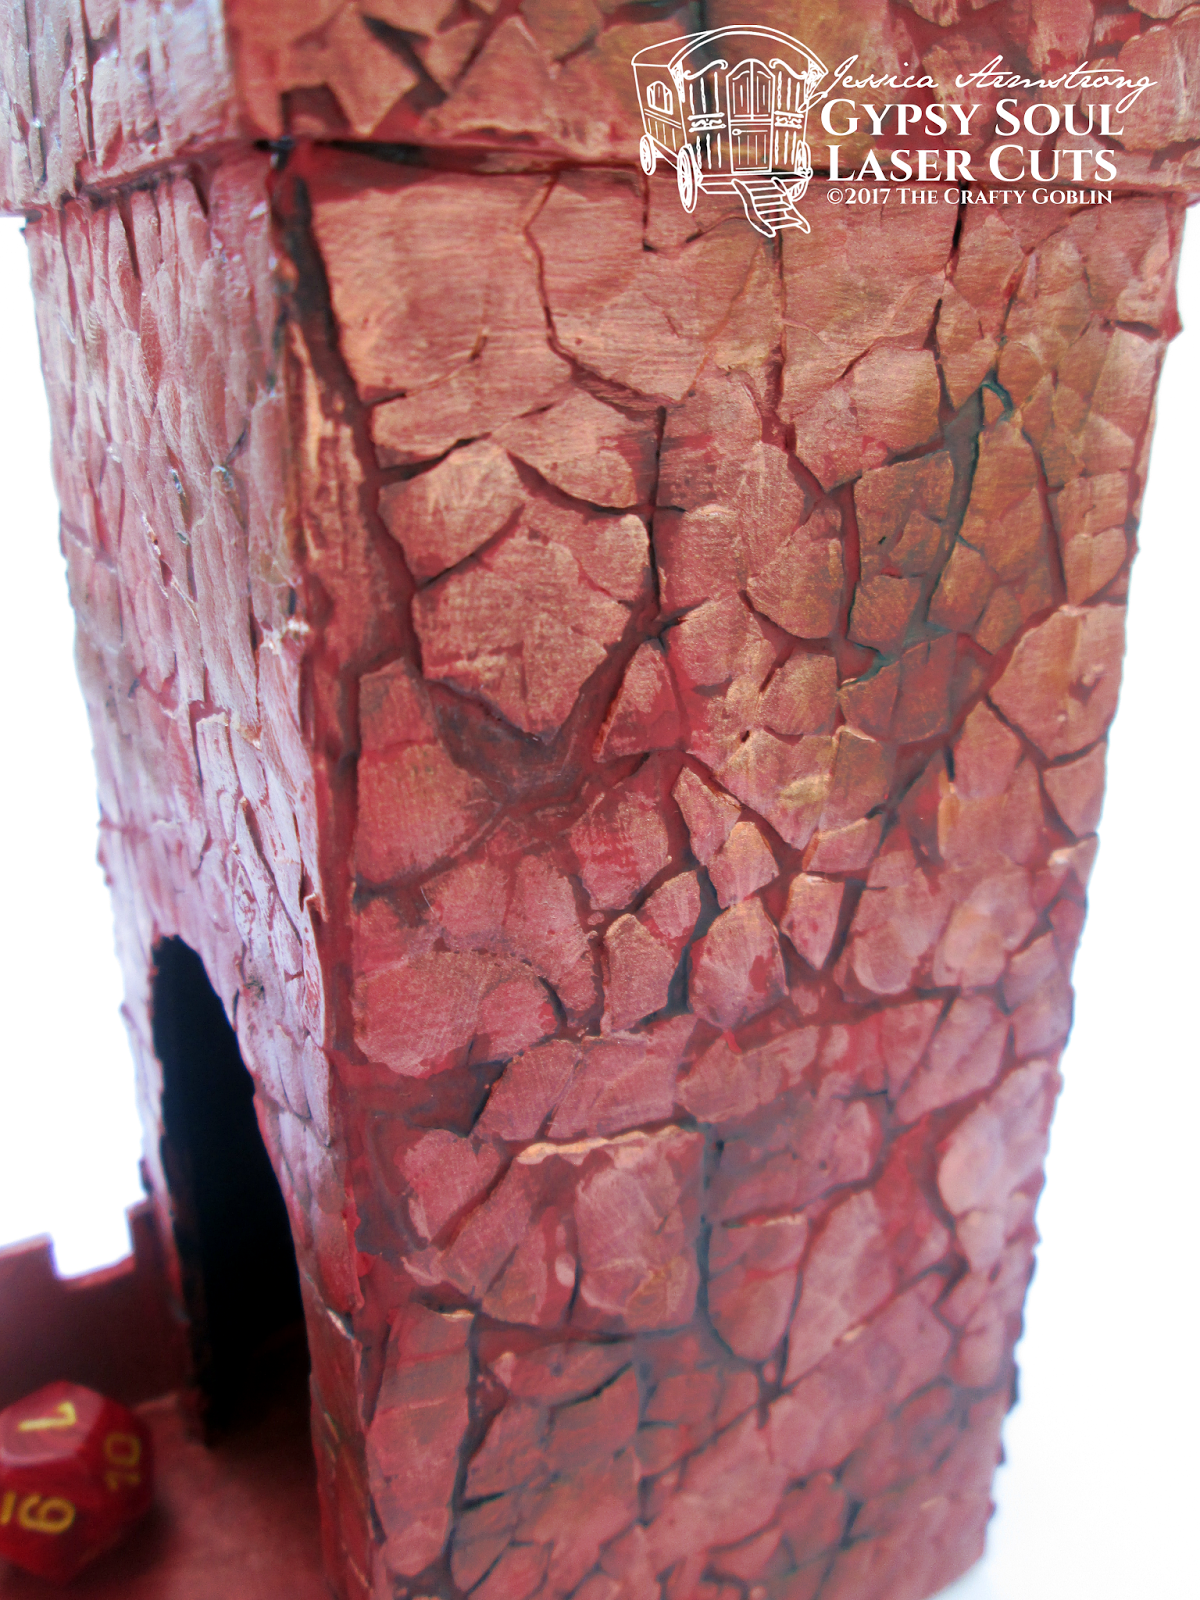


Close up of scales.

I made a tutorial a while ago on using egg shells to create a dragon scale effect if you'd like to check it out here

Materials

Egg Shells
Paint
Glue

Friday, February 24, 2017

The Library of Bartholomew Pendragon

Goodmorrow all! Today I bring you the Library of Bartholomew Pendragon, explorer of the unknown and adventurer in the lands of disbelief. Let me give you a tour:


The full Deep Open Front Box, containing the miniature scene.


Stacks of research Mister Bartholomew Pendragon has accumulated on various fantasy creatures.


Specifically, the "Pixie" stack of papers.


Mister Bartholomew Pendragon himself, framed atop his chair.


Scrolls hidden amongst the books.


The stairs leading up to the aging door. He's out exploring and finding new species of creatures he just can't be bothered to repaint the door.


His collection of exotic bats in shadow boxes.


He hopes to one day have a large stack of research on Dragons, as well. For now, this is all he's accumulated.


He's got a special interest in Nymphs. Some say, his wife was once a Nymph in the forests of Hanover, but this is just whispers amongst other explorers.


Ancient scrolls on learning to speak with various faerie species.


The pride of his collection will always be his books.


A closer view of the door.


Candles lead the way of the stairs. Worries of fire hazards tend to not bother him.

Here's a mini-tutorial on making the Shadow Box in the scene:


You're going to need the Shadow Box Bugs and Bats sheet from Alpha Stamps and use a sharp craft knife to cut out the size of bats you want for your scene (or whatever bugs or butterflies you choose from the sheet)


Once cut out you can leave as is, or colour the outside with a marker, stamp or anything of your choice to get rid of the hard white edge.


And then it's on to my (possibly) favourite go-to material, the dollar store  foam core. It's got to be the dollar store foam core, because the paper come off so easily. Otherwise, you've got to soak the paper off in water and it's a whole messy time consuming hassle. Just get the cheap stuff and you're good to go. Cut off a small piece and remove the paper.


Mark out around your bat how big you want your shadowbox to be, using a pen and ruler.


Cut using a sharp Xacto or craft knife. If it's not sharp, the foam will pill and it will frustrate you beyond belief.


Then use some wooden coffee stir sticks (which can also be purchased from the dollar store), cut them to size and paint them black.


Glue the stir sticks and bat in place - I am impatient and used a low-temp hot glue gun for this. And then you're finished. Easy peasy!


Thanks for joining me for this months miniature making - check back next month for more miniatures!

Gypsy Soul Laser Cuts Materials


Alpha Stamps Materials


Friday, May 20, 2016

Tutorial: Medieval Room Box

Tutorial: Medieval Room Box

Supplies:

1/2 inch thick Owens Corning insulation foam. You can get it at Home Depot and similar stores.
Ballpoint pen
Ruler
Wood stain marker
Nail files
X-Acto Knife/Box Cutter
Aluminum foil


Cut a floor and two walls. My floor is 6.5 x 7 inches. My window'ed wall is 7 x 8.5 inches, and the other wall is 7 x 8.5 inches.


I like to draw a grid on the foam very lightly with a pen so it doesn't indent into it. The grid doesn't have to be specific - just something to guide you straight - you don't have to make your bricks as big or as small as the grid. It helps me make sure I don't start out one size and finish with another.

I used the largest Dragon Shape from Gypsy Soul Laser Cuts. Place it in the center and trace around the outside, making sure it's smack dab in the middle of the floor. I added a circle around the dragon for added oomph using a compass.

I drew on random stones using my ballpoint pen, pressing harder and harder each time I go over the area with the pen, so that it breaks through the foam. Then I took a stain pen - designed for fixing odd spots on furniture and the like - and drew over the dragon, which melts the foam in that area, creating a stone-like texture, as well.


I added a window to one of the walls and then drew in the bricks around the window, followed by the stone in the wall itself. This method is repeated from the floor, and also on the other wall.


Grab a bit of aluminum foil, balled up and start pressing it into the floor and walls. Both sides of the walls, just the one side for the floor. This creates a stone texture that will come into play when you're painting later. The more you do to add texture, the more realism you can add.


I bought a pack of nail files from the dollar store and went through about ten of them for this project. Cut it to the shape that works best for you - I cut it in a sort of pointy shape, as you can see above. Then went through each crevice with the file, to separate each brick. This is tedious. But the end result is totally worth it.


I am lazy and used hot glue to attach the walls and floor - you should use PVA glue. Or hot glue. Don't let me tell you what to do.


The window.


Do the same to the floor - if you use straight angles, it's a little easier than these more random ones.


Then I painted the room. Use your own favourite painting techniques here. You could make the floor anything - you could make it scarier, or less scary, more mosaic - the sky is the limit! Here's the finished pictures: